Production
100 Years PRODUcT and
PROcESS OPTIMIZATION
Time intensive
Leather is a complex process.
It can take as many as 35 sophisticated steps to produce a high quality piece of leather. Since the beginning of our leather production in 1923, there have been many changes in processes and application methods. Today, what was once a task for a number of different craftsmen can be performed in a single location with state-of-the-art technology. However, even the most modern production facilities do not automatically transform a hide into a high quality leather. In addition to high-tech machinery, manufacturing leather also requires the knowledge and experience of trained and experienced specialists. Even after more than 100 years, we are still committed to this high standard of craftsmanship.
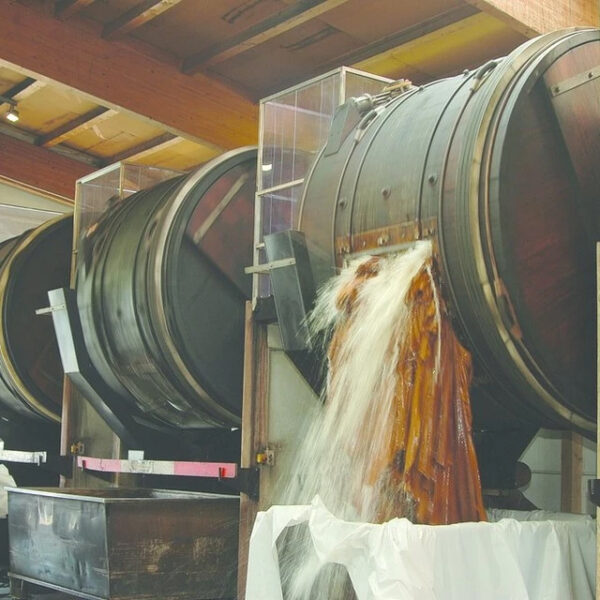
The Tanning Process
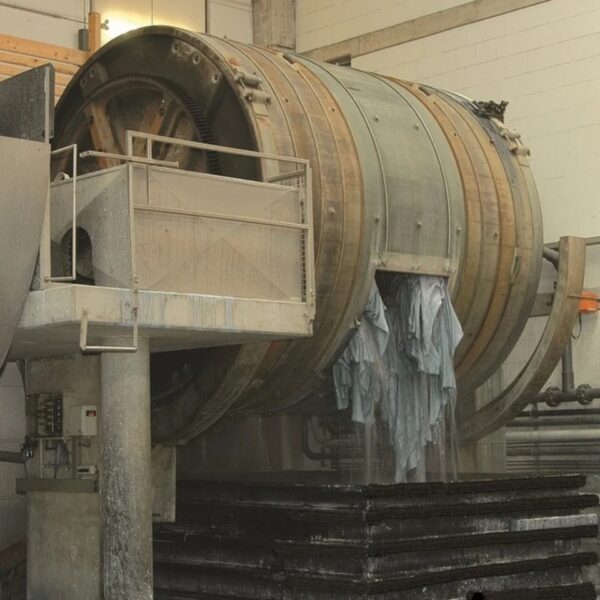
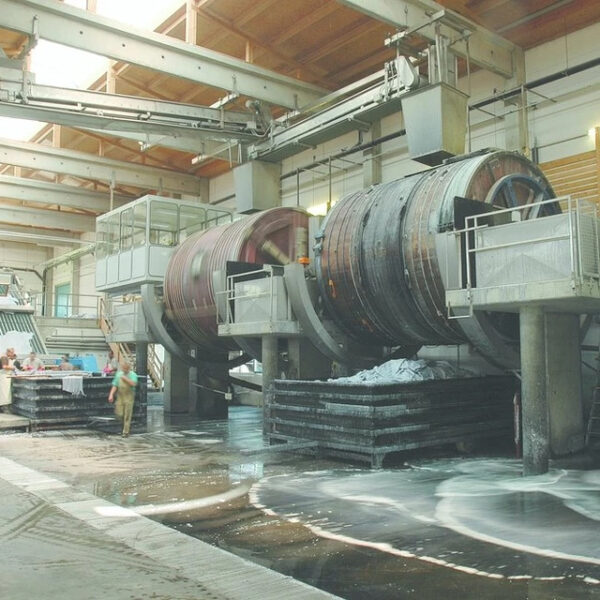
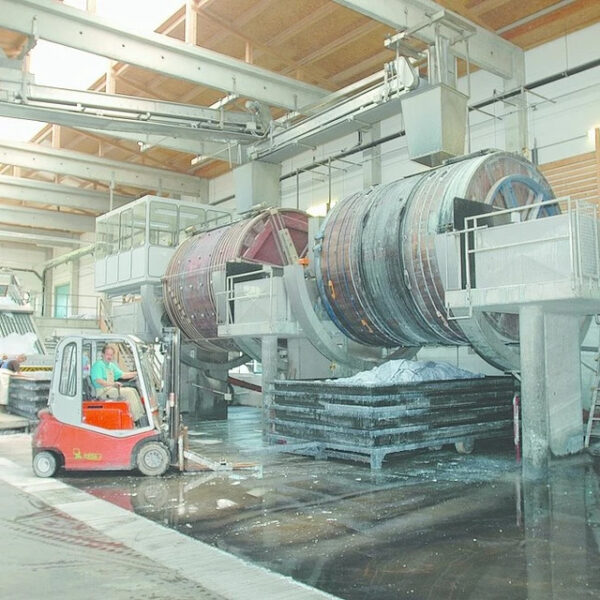
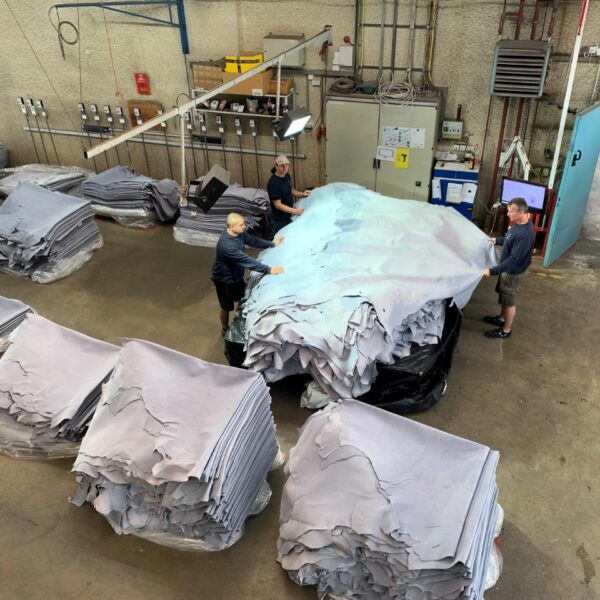
In Germany and Austria, which has the highest standards of animal welfare, we purchase the appropriate raw hides from the raw material dealers or directly from the butchers. The raw hides are placed directly into our reels – large wooden containers that look like a laundry drum – in the beamhouse for the cleaning process. After cleaning for 48 hours, we use knife-shaped rollers to remove any remaining subcutaneous connective tissue. This is now known as the “pelt”. The next step is to split the hide with a splitting machine that uses a band knife to achieve a uniform thickness of the top split hide (the scar split).
The top split of the hide (the grain split) is then tanned in the beam house. There are three tanning drums that are in use in the beam house. In less than 24 hours, this process transforms the perishable skin into a durable product. During the tanning process, the hide’s natural protein structure is transformed into leather that will last for decades. We typically use premium mineral salts as tanning agents, which turn the leather blue, which is why the hide is called “wet blue” when the process is complete.
Preparation for dyeing
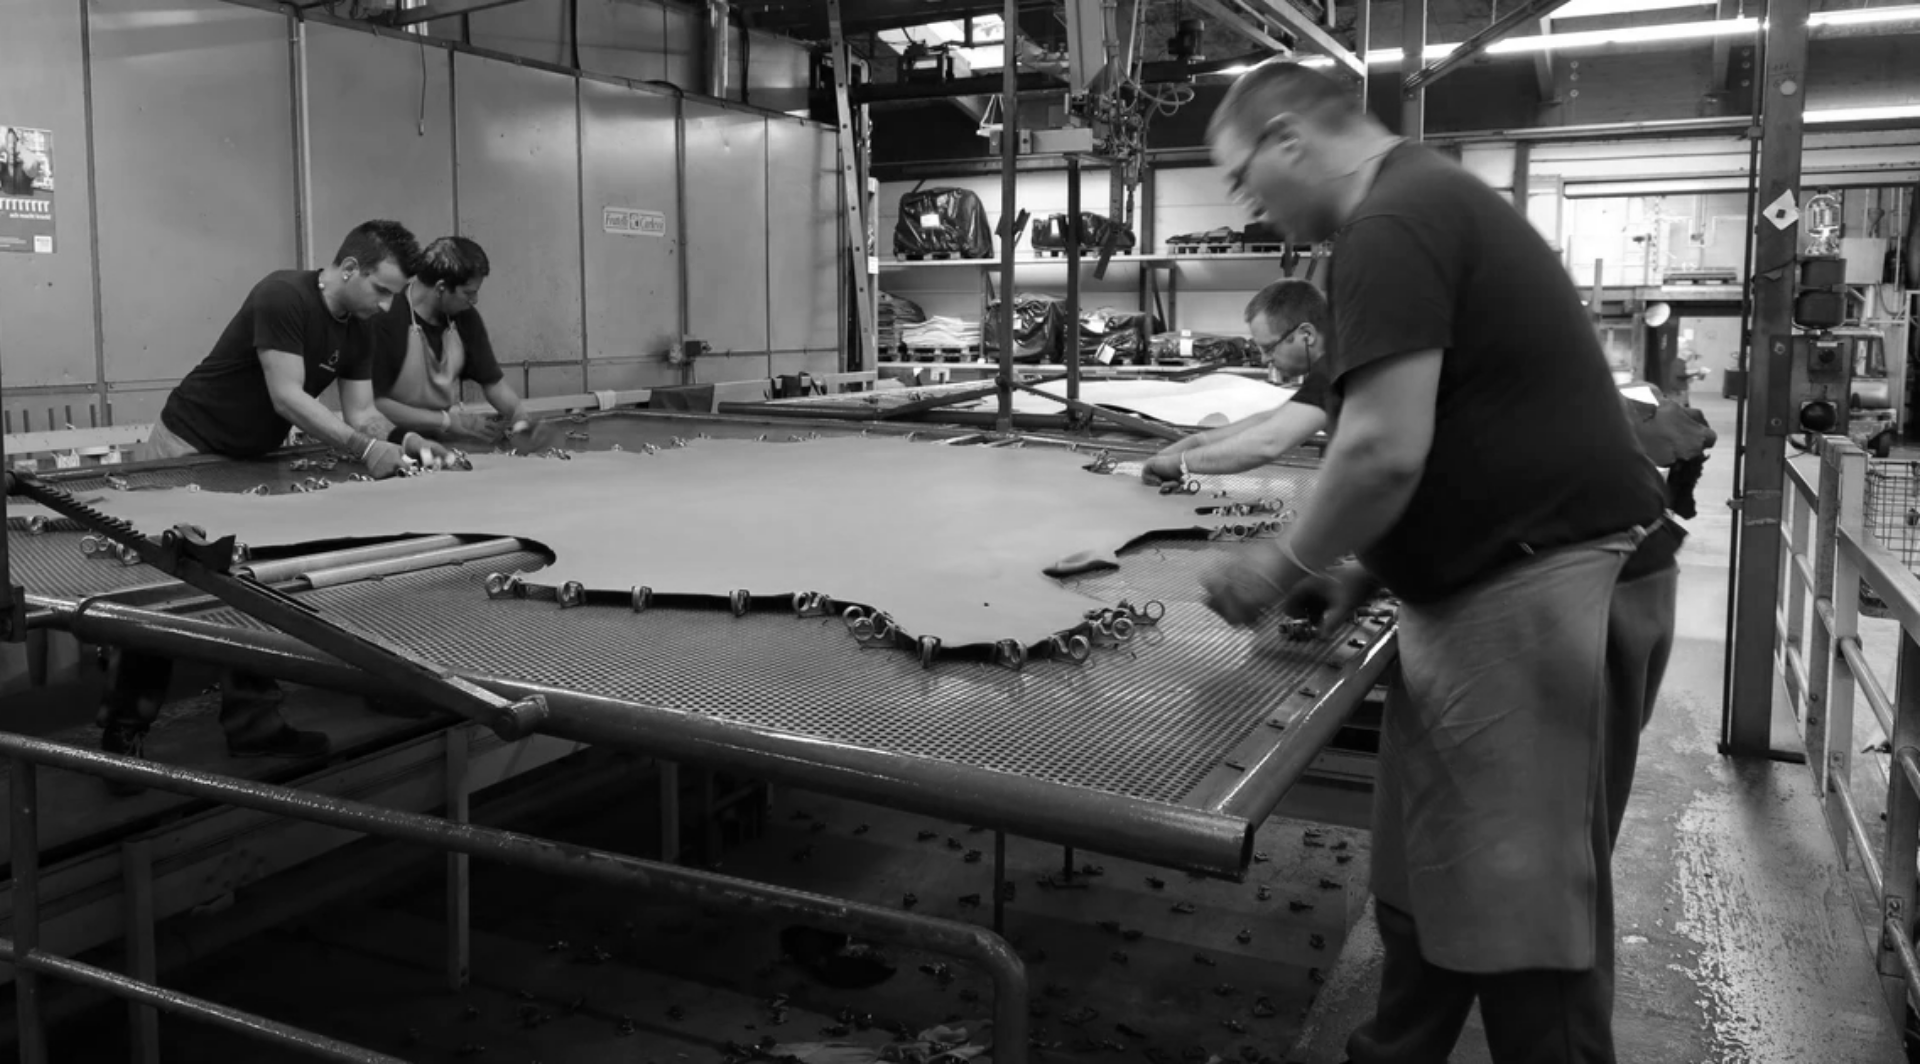
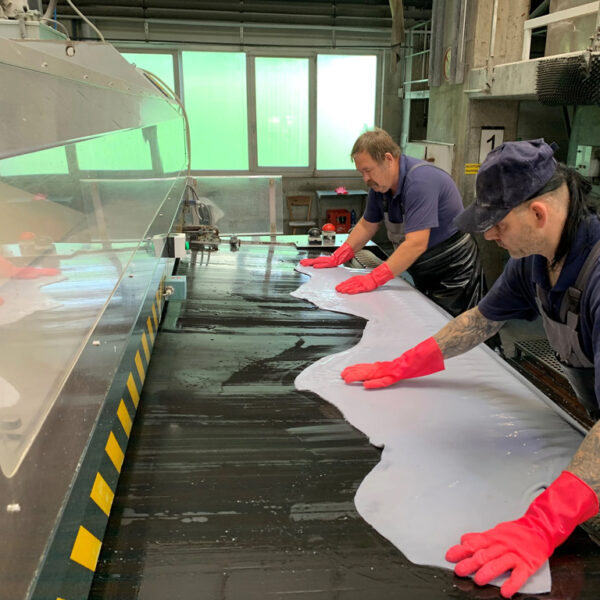
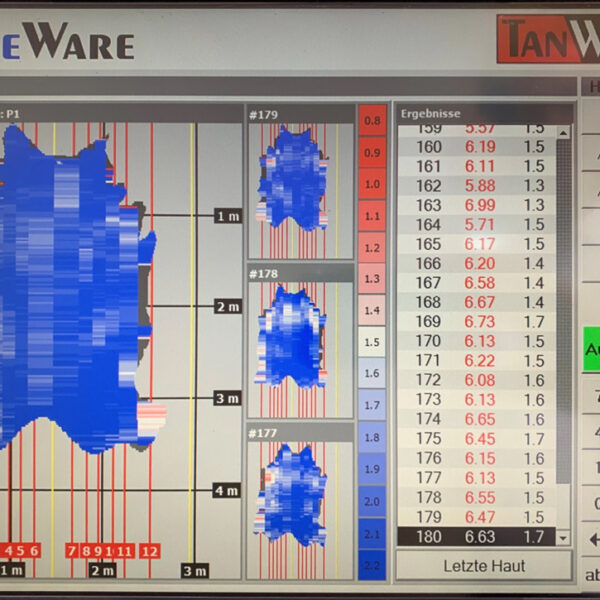
The next step is for the wet-blue hides to pass through the samming machine, which presses the excess water out of the leather. During this process, the surface area and thickness are measured. A topographical grid model of the hide thickness is created for each hide to aid in the subsequent wetblue grading process. To ensure accurate grading, all natural features are checked for number, frequency and characteristics according to defined basic criteria. All of the resulting information is then recorded in a data base. Up to 16 grades are distinguished and stored on pallets until they are ready for selection for customer orders.
When an order is received, the hides are carefully and gently shaved to the desired thickness on the shaving machine. The resulting shavings are collected by us and sold on to a manufacturer of leather fiber fabrics to complete the chain of sustainability.
Dyeing
The dyeing vats are filled with wet-blue leather and the dyeing effects and retanning agents are added to the vats. As warm water and softened water are added, the vats are continuously moved in an alternating direction. This process dissolves dyes, fats, etc.
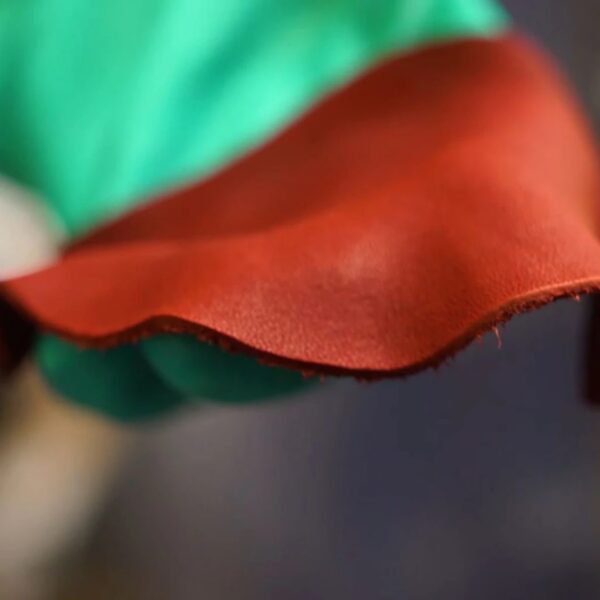
Depending on the recipe, the dyeing process can take anywhere from three to twelve hours to complete. This type of leather is called aniline leather, also known as crust leather.
We only “through-dye” leather with high quality dyes. This can be seen on the dyed cut edges.
In addition to color, the dyeing process also affects the feel, appearance and odor of the leather.
Pre-finishing
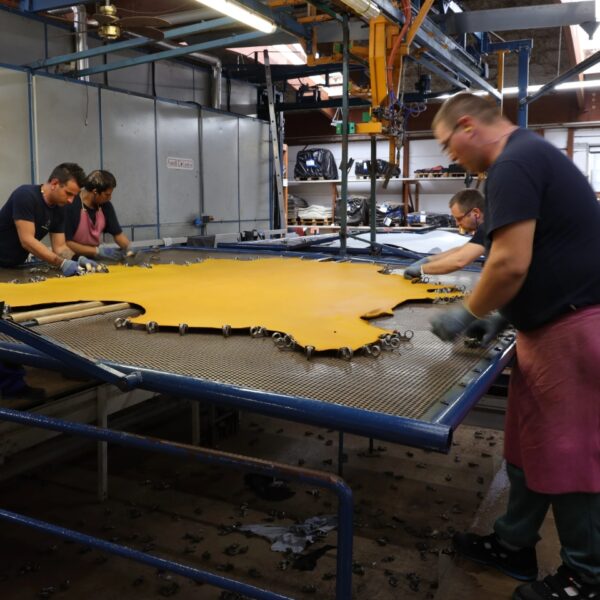
Excess water is squeezed out of the leather by the setting-out machine. The toggle frame dryer is used to clamp the leather for the drying process to come. The hides are then passed through the drying channel for a period of up to six hours.
Due to the previous steps, the fibers of the leather have become very tight. The staking machine is used to loosen up these fibers and make the leather softer once again.
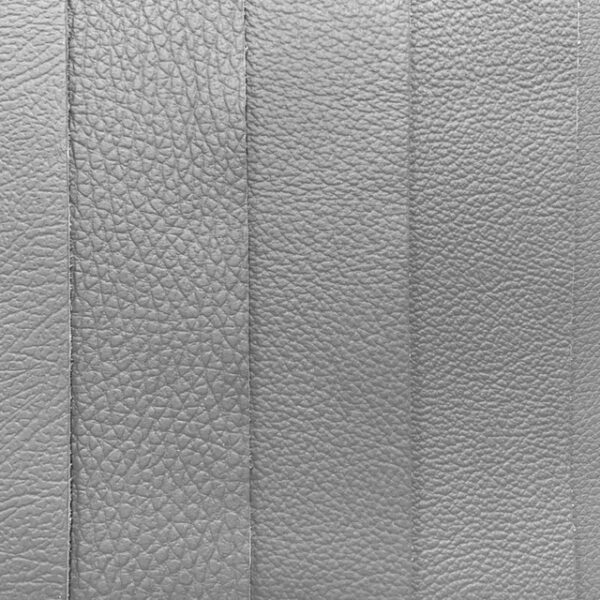
The leather then passes through the embossing machine, which uses pressure and heat to transfer different designs onto the leather if the customer requires a custom embossing.
The rotating grinding drums continue to loosen the fiber structure. This makes the leather even more flexible and supple. Water or a lubricant can also be added, depending on the type of product to be manufactured.
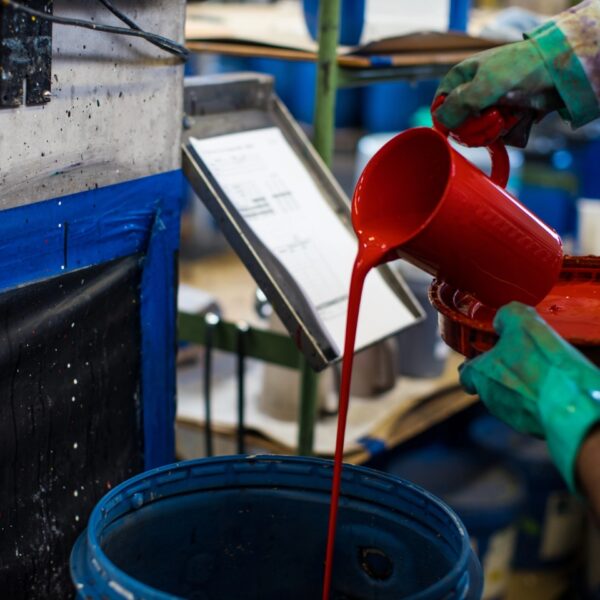
The Finishing
For further surface treatment, the leather is given a protective coating. We mix various pigments and binders to create the desired shade. The color is then adjusted by our staff until the desired shade is achieved. There are almost no limits to what a customer can ask for. All colors are water-based. We use a solvent-free, two-component system.
A primer is applied to the surface of the leather, either by rolling it on or by spraying it on. The applied finish (top coat or protective lacquer) protects the leather from soiling and enhances the performance characteristics of the leather.
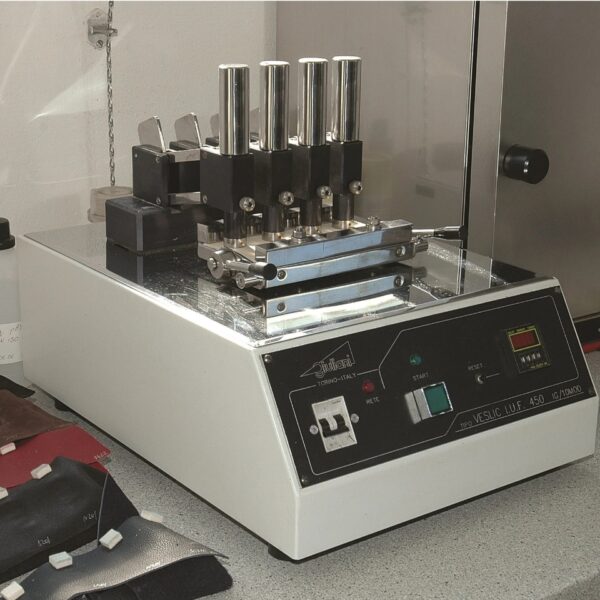
Quality Control
Throughout the manufacturing process, repeated quality checks are performed. Analytical data is recorded. These tests include abrasion resistance, resistance to permanent folding, and resistance to tearing. Depending on the type of article, a flame test may also be carried out.
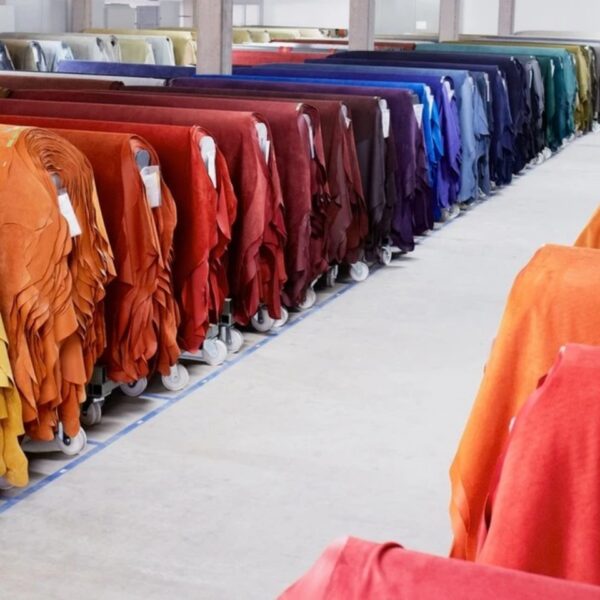
The Warehouse
In the warehouse, the surface area of each hide is measured electronically and printed on the back of the hide together with the batch number. These numbers allow each hide to be traced. Every step of the process is documented. The final step in the process is the inspection of each hide in the warehouse and the classification of each hide into different quality grades. In order to prevent wrinkling, all of our leather stock is stored as whole hides on racks.
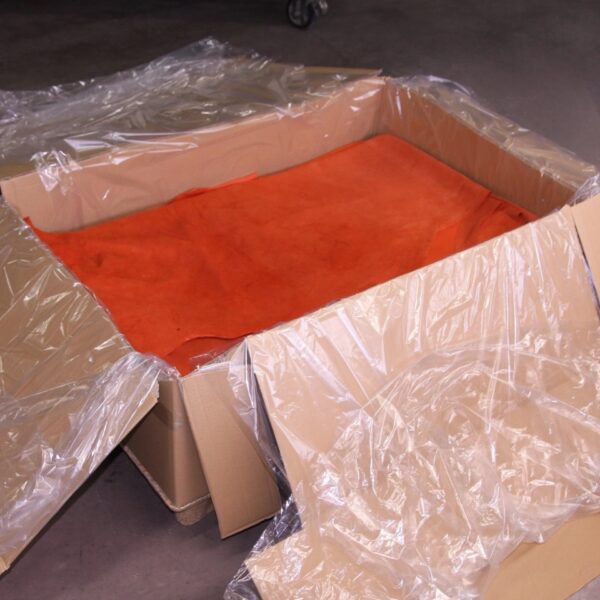
How we ship
Small quantities of hides will be rolled into a tube and shipped by parcel service, boxed and palletized.
Larger quantities are packed in a box on a pallet and shipped by freight forwarder, depending on the thickness of the leather.